So I found this fabric (Wrens Friends by Gina Martin) on Moda and fell in LOVE with it and fell in LOVE with the United Notions Pattern that was free. I instantly ordered the required 2 layer cakes and charm pack and other supplies and got to work!
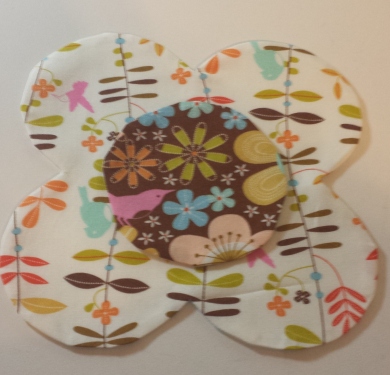
It was actually pretty simple to piece. I used the sketch pen feature on my silhouette machine to trace the circles and the flowers on non-fusible interfacing. You then sew on that traced line for both the circles and the flower. Next you cut a slit in the interfacing and turn inside out.
Here are what both the Circles and Flowers look like after turning inside out and pressing.

 The circles are sewn on the flowers in the center with a clear stitch and I did a zig-zag. I also used spray adhesive to attach the circle to the flower and flower to 10×10 and did not use pins.
Then, the flower is sewn to the remaining set of layer cakes. I found it was best to lay out everything before sewing to make sure it remained “random”
After piecing the flowers onto the remaining layer cake cuts, you just piece the quilt together in rows and eventually into the entire topper.
The next step is to baste the quilt with the backing (I had to do some sewing to make my backing wide enough.) I used this Bella Solids Aqua from Fat Quarter Shop to do my backing. The next step was to put the three layers together, I used spray adhesive and basting (rounded) clothes pins. After it is basted, I started free-hand stippling. U know there are stencils you can buy with chalk, but i found it easiest to do it free handed. Yes, this was my first time and there was a lot of practice.
After all of the stippling was done (This took a couple weeks, a couple needles, and couple headaches), I trimmed the edges up to be ready for the binding.
For binding, I used Wrens & Friends Cream. I followed the tutorial on Moda’s bake shop with instructions on making thebinding and sewing it.
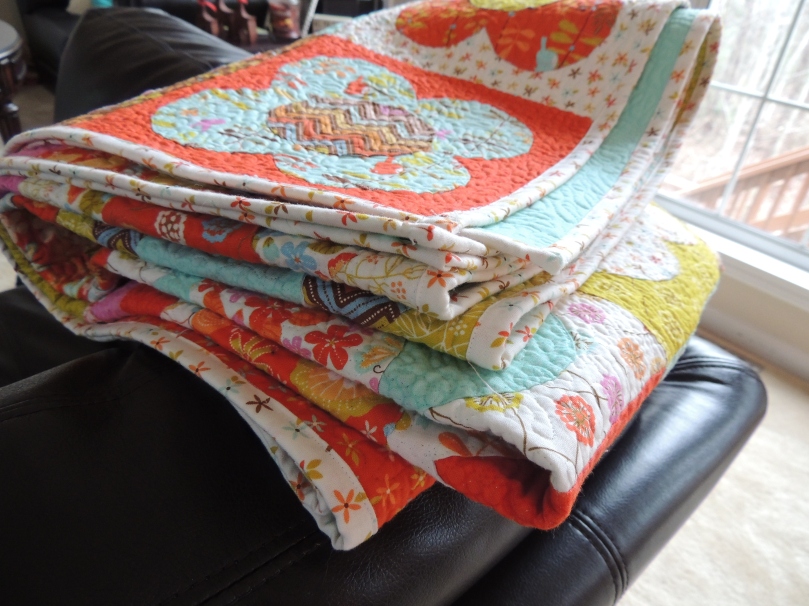
Once I sewed on the binding, I was DONE!!!
More…..
This is by FAR! My favorite project yet and cannot WAIT to do my next quilt!


